Create an org chart with photos for your organization easily and quickly with a powerful org chart creator. Just start from ready-made templates so that you can save precious time.
Presenting your employees an org chart that includes photos of all members is a great way to reduce the tendency towards isolationism. This article firstly shows you how to achieve an amazing org chart with pictures from scratch. Then, you can learn how to take advantage of our well-formatted org chart templates.
1. The first step is to collect and organize all employees’ photos.
- Note that it is advisable to use only businesslike and professional photos.
- Name the photos with the last name of the employee.
2. The second step is to structure the frame of your org chart.
- Open the org chart creator and choose an organizational chart type. Double-click the icon of photo org chart to open related shapes libraries.
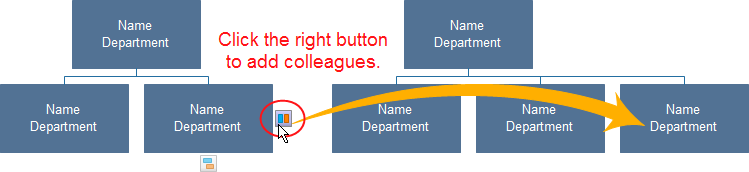
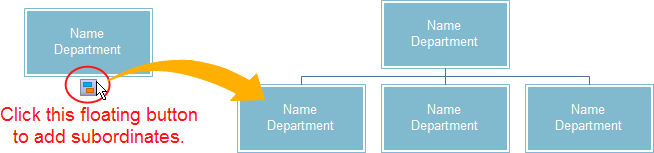
- Drag the first shape onto the canvas. Click floating buttons to add subordinates. Except for the first shape, other shapes have 2 floating buttons. The right one is for adding colleagues and the bottom one subordinates.
- Double click the shapes to enter contents, mainly including names, titles, and department.
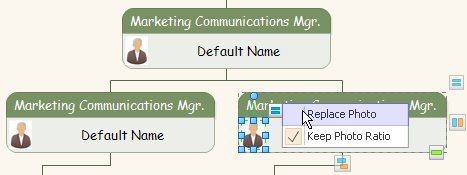
3. The third step is to replace the default pictures with photos.
- Move the cursor towards the shapes. Click Replace Photo in the upper right menu.
- Browse your computer to locate the needed photo. Hit on the photo and then click “Open.”
4. The fourth step is to adjust the photo. All inserted photos are automatically adjusted to fit the shapes.
Each photo added have a number of blue handles surrounding it, usually one at each corner and one in the center of each side.
- After a shape is selected, click on the photo to show the handles.
- Place your pointer over a corner until a double-arrow appears. Click the arrow and drag it towards the inside of the photo until it reaches the size you require.
- Continue this process until you have all photos completed.