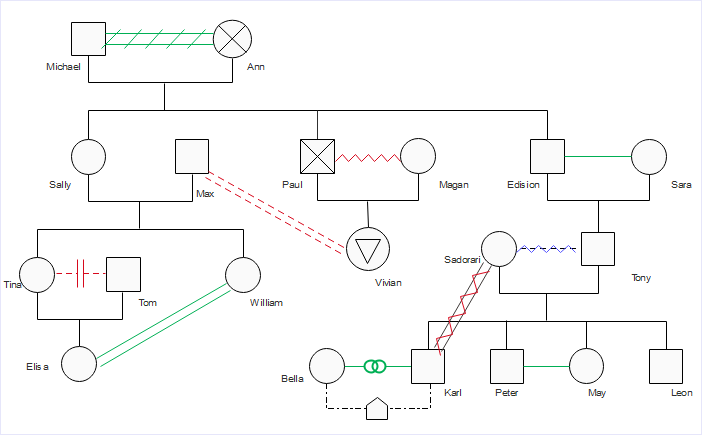
The genogram is a pictorial display of the relations of a family as well as includes family medical history. It can also be referred to as family genogram, a Lapidus schematic, or McGoldrick–Gerson study. A genogram example depicts hereditary patterns as well as psychological factors that form relationships. It can help reveal such information among individuals in a specific lineage.
1. Things to Consider Before Drawing Your Genogram
Before one starts to draw a genogram, they can take a look at the various kinds of genogram examples that are found. With software suites like Edraw Max, it is possible to create different images or illustrations and depict data in different ways. However, such data or charts would include sensitive medical information about a family. It could even involve describing emotional connect between various family members depending on the beliefs and stories gathered. Hence, one needs to be sensitive to how much of such information is to be displayed and in accordance with the beliefs and feelings of concerned members of a lineage.
Since medical formats can be quite detailed, if one needs to print or create professional finishes on such charts, there would be costs involved. Hence, such parameters need to be kept in mind when creating one’s genogram.
2. How to Draw Your Genogram?
Step 1: Collect Relevant Information
Among the steps involved in how to make a genogram, the first step requires an individual to draw up relevant information on their family. Generations that one wishes to display on such a chart, along with the kind of medical history they want to disclose, should be considered, and data gathered accordingly.
Step 2: Choose the Appropriate Template
Edraw Max has several pre-made templates available. One could choose one from the new section or even want to start with a blank canvas.
Step 3: Set Up Layout
This step involves setting out the layout gridlines as per the length and breadth of the chart you wish to create. It is especially crucial for digital prints or large size wall displays. The layout tab helps determine setup, background, theme, and other aspects.

Step 4: Add Content and Symbols
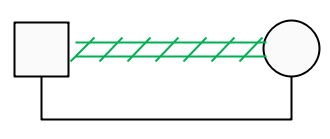
Once the layout is decided, one can then proceed to add text from the Home section. There are different vectors and symbols that one can insert onto the image, adding in the text in these blocks or boxes along with labeling.
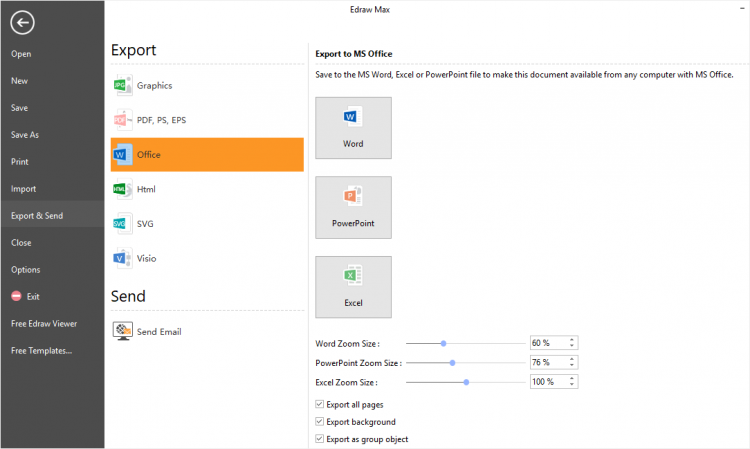
Step 5: Export and Share Genogram
The software allows one to save the finished project in different formats such as JPG, PDF as well as export it to files such as MS Office or share it through various social media channels. Here export and Send options to come on the left-hand side panel of the software. It is also possible to save the file on local or cloud storage places. The Print option is also handy in helping you to print as per different sheet dimensions.
3. Tips for Creating an Ideal Genogram
To create an ideal genogram, the following steps come in handy:
· Know the Purpose
The need for creating a family genogram should be evident before one begins.
· Collect Information
As per the medical and psychological details to be displayed, one can proceed to collect information accordingly.
· Choose Genogram Structure
There are a different family tree and other diagram templates available to depict such relationships and data; one can choose a diagram as per the spread of information that needs to be portrayed.